Basic Usage
The steps below show the process of queuing a build within the UBuild user interface.
Before following the steps below, ensure you have created your own UBuild Project. (see more here)
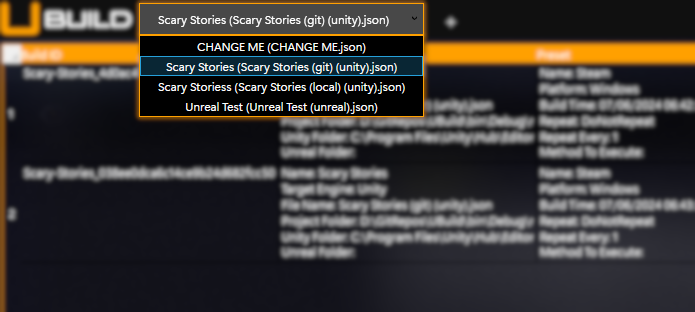
- Load a Project using the Project Selector.

- The Project Selector allows you to see what UBuild Projects are currently available.
- Changing the selection of the Project within the Project Selector will change the currently loaded Project within UBuild.
- Projects within the Project Selector will be formatted like so:
[ProjectName] ([ProjectFilename].json) - UBuild will automatically re-load Projects whenever changes to the files are saved.
- The Project Selector allows you to see what UBuild Projects are currently available.
- Select a Build Preset using the Preset Selector.
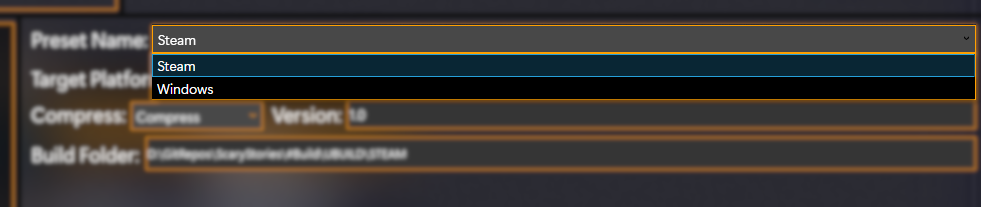
- The Preset Selector will be enabled when a Project is curently loaded.
- The Preset Selector will display Build Presets currently configured within the currently loaded Project.
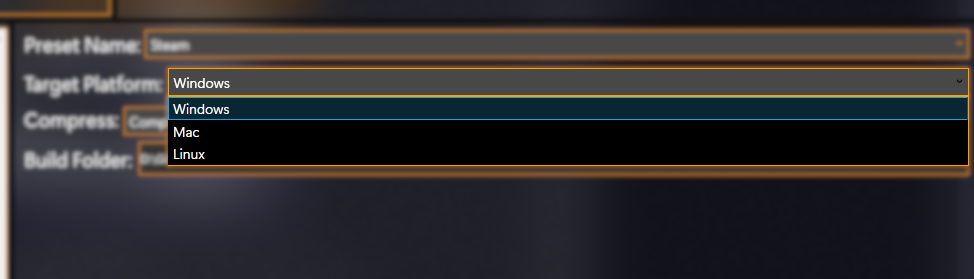
- Select a Supported Platform to target using the Platform Selector.

- The Platform Selector will be enabled when a Project is currently loaded
- The Project Selector will display Supported Platforms configured within the currently loaded Project.
- Ensure there is a Build Folder specified, if not click and select one.
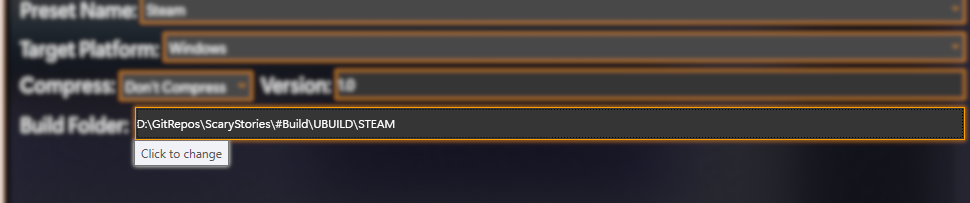
- This button will be enabled when a Build Preset has been selected.
- If this button does not display a file location then you must click, then set one.
- It is always best to check this field and ensure it is correct before adding a build to the queue.
- Add your build to the queue!

- This will add your configured build to the Build Queue, you will see it appear in the Build Queue panel within the user interface.