Setup
First thing's first, let's get you setup!
Installation
Below you can find details on how to install UBuild.
Requirements
- Windows 10.0.17763.0+
- .NET 8.0 Runtime (Download Runtime from here)
Installation
Ensure the above requirements are met before installing. (Installing .NET may require a restart of your PC)
- Download the latest UBuild build from https://ubuild.publiczeus.com/download
- Extract the UBuild folder within the zip to wherever you would like the application to "live". (this is based on user preference)
First-time setup
Given that you have downloaded the UBuild tool to its own folder, follow the steps below to complete the "first-time setup" process.
- Run UBuild.exe
- As UBuild isn't yet a known application Windows may warn you that it has come from an "Unknown Publisher", so long as you have downloaded UBuild from a trusted source (ie: https://ubuild.publiczeus.com/download) you simply click "More info" > "Run anyways".
- As this is your first time running UBuild, the application will automatically create the necessary folder & files.
- You will now be presented with the license agreement, before continuing you must agree that you will not use UBuild for commercial purposes. (you'll only have to do this once) (read here for more about Commercial Licenses)
- Once you have agreed to the license, you're now able to start using UBuild!
From here it's recommended you Create your first Project. (see more here)
Creating your first Project
Here we will cover how to create your first Project within UBuild, although it is not required; some understanding of JSON formatting is recommended whenever editing Projects.
Create an empty Project
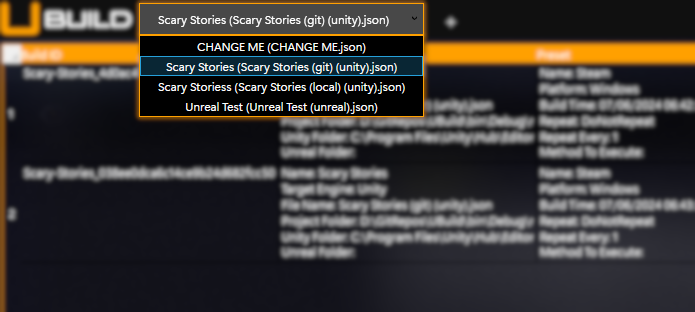
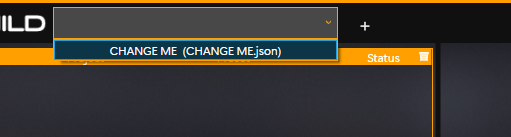
- To start we click the plus button to the right of our Project Selector, this will create a new, blank project for us to edit.

- Now there will be a "CHANGE ME (CHANGE ME.json)" Project within our Project Selector, select this to load it into UBuild.


Editing our empty Project
- Once the Project Selector displays "CHANGE ME (CHANGE ME.json)" as the loaded Project, right-click on the Project Selector and select "OPEN PROJECT CONFIG".

- This will open the project config file in whichever default application handles .json files, It is recommended that you use a lightweight text/code editor (like Notepad++).
- If the file fails to open in your editor of choice, in your File Explorer, right-click the file within the Projects folder, "Open with" > "Choose Another App" > "Always" on that text/code editor. Retry the step above and it should now open the project config in your text/code editor of choice.
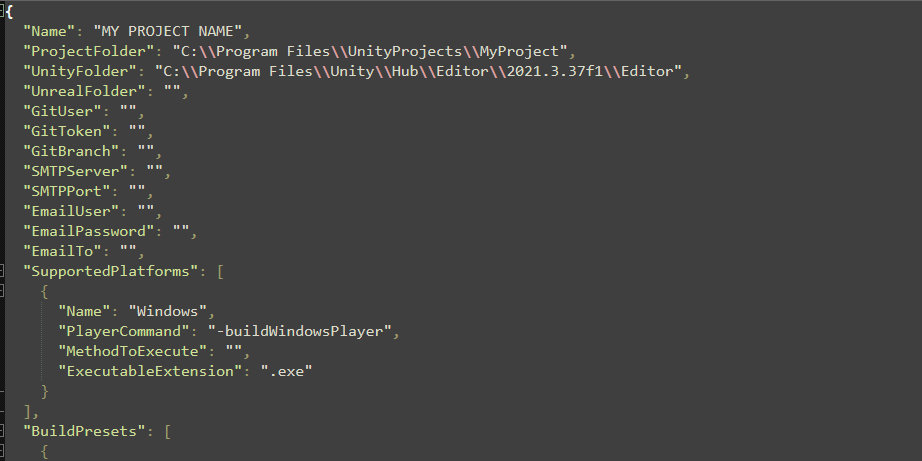
- Now, we must fill out some basic information about the Project we would like to build, the required fields are:

- Name - The name of your Project. This is how it will be displayed throughout UBuild. It will also use this as the final filename of the executable it builds.
- ProjectFolder - This is the path to your Unreal/Unity source project directory. (This can also be a Git URL, more info here)
- UnityFolder - This is the path to your Unity editor directory.
OR - UnrealFolder - This is the path to your Unreal editor directory.
- Make sure to save your changes! UBuild will automatically reload all its Projects when it detects a change.
- Be warned that reloading all Projects due to a file change will clear any temporary changes to the Preset within the UBuild user interface.
- Be warned that reloading all Projects due to a file change will clear any temporary changes to the Preset within the UBuild user interface.
- You can also rename the file itself from "CHANGE ME.json" to whatever we wish to call our Project.
- The file name does not need to be the same as the Project name, each Project file is an individual Project, and you may also create multiple Project files, for a single game project.
(ex: You can have a "MyGame (git).json" along with a "MyGame (local).json, both are the same Project but the configuration for each is slightly different)
- The file name does not need to be the same as the Project name, each Project file is an individual Project, and you may also create multiple Project files, for a single game project.

Basic Usage
The steps below show the process of queuing a build within the UBuild user interface.
Before following the steps below, ensure you have first created your own UBuild Project. (see more here)
UBuild will remain running when you "close" the main UI window so it can build in the background, you can shut down UBuild from your system tray, and you can right-click the UBuild icon.
- Load a Project using the Project Selector.

- The Project Selector allows you to see what UBuild Projects are currently available.
- Changing the selection of the Project within the Project Selector will change the currently loaded Project within UBuild.
- Projects within the Project Selector will be formatted like so:
[ProjectName] ([ProjectFilename].json) - UBuild will automatically re-load Projects whenever changes to the files are saved.
- The Project Selector allows you to see what UBuild Projects are currently available.
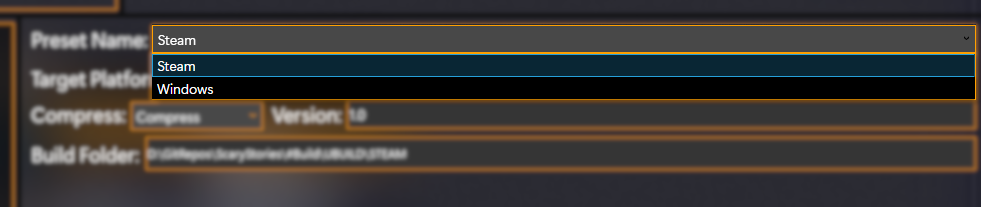
- Select a Build Preset using the Preset Selector.

- The Preset Selector will be enabled when a Project is curently loaded.
- The Preset Selector will display Build Presets currently configured within the currently loaded Project.
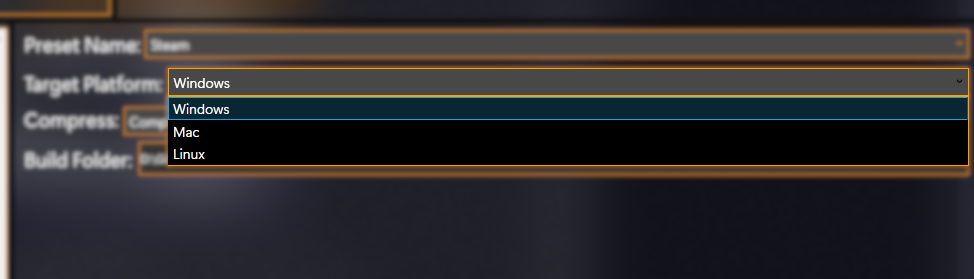
- Select a Supported Platform to target using the Platform Selector.

- The Platform Selector will be enabled when a Project is currently loaded
- The Project Selector will display Supported Platforms configured within the currently loaded Project.
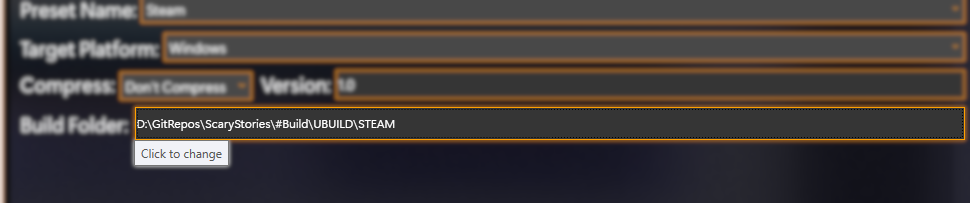
- Ensure there is a Build Folder specified, if not click and select one.

- This button will be enabled when a Build Preset has been selected.
- If this button does not display a file location then you must click, then set one.
- It is always best to check this field and ensure it is correct before adding a build to the queue.
- Add your build to the queue!
- This will add your configured build to the Build Queue, you will see it appear in the Build Queue panel within the user interface.